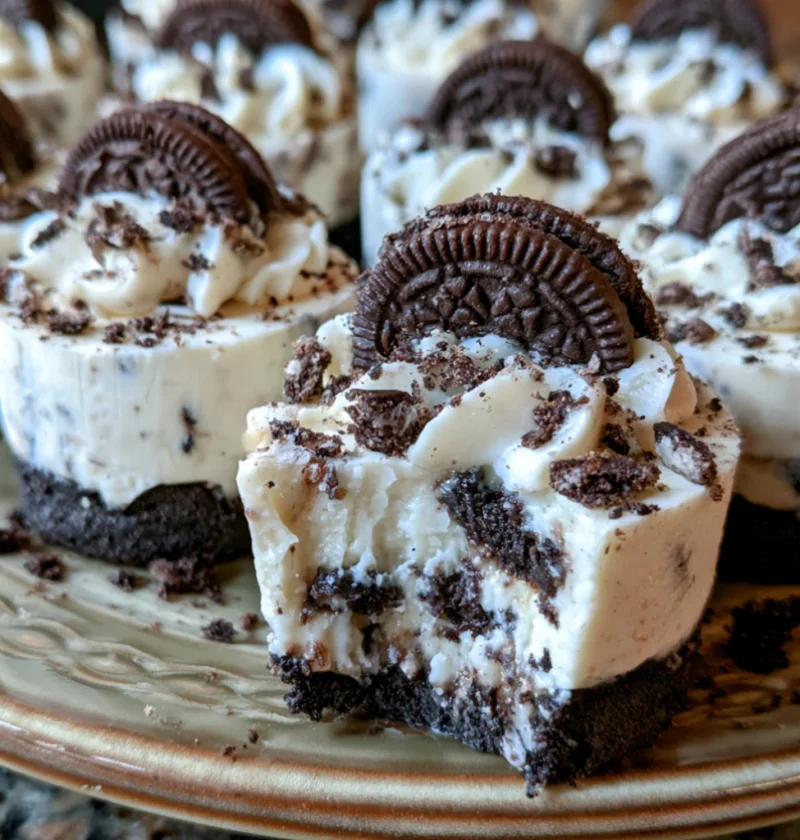
Indulge in a delightful treat with these No-Bake Oreo Cheesecake Bites. Perfect for any occasion, these little bites pack a creamy, rich flavor that combines the beloved taste of Oreos with a smooth cheesecake filling. They are simple to prepare and require no baking, making them an ideal choice for quick dessert ideas or party dessert recipes. Let’s dive into the ingredients and steps to create these sweet treats that are sure to impress your friends and family!
Ingredients
- For the Cheesecake Filling:
- 8 oz. cream cheese, softened to room temperature for easy mixing
- 1/2 cup powdered sugar, sifted to prevent lumps
- 1 teaspoon vanilla extract, for a rich flavor
- 1 cup heavy whipping cream, chilled for better whipping
- 1/2 cup crushed Oreo cookies (about 4-5 cookies), or more if you desire a stronger flavor
- For the Chocolate Coating:
- 1 cup semi-sweet chocolate chips, high-quality brands work best for a smoother melt
- 1 tablespoon coconut oil (optional, for smoother melting and a shiny finish)
- For Topping:
- Additional crushed Oreos for garnish, to sprinkle on top for a delightful crunch
Note: For a gluten-free option, use gluten-free Oreo cookies. Ensure that the cream cheese is at room temperature for easy blending and optimal texture. You can learn more about this topic and discover how the flavors meld together beautifully.
Steps / Instructions
- In a large mixing bowl, beat the softened cream cheese with an electric mixer until smooth and creamy, about 2-3 minutes. This step is crucial for achieving a fluffy filling.
- Add the powdered sugar and vanilla extract to the cream cheese. Mix until well combined and the mixture is free of lumps, ensuring a delightful sweetness in every bite.
- In another bowl, whip the heavy cream until stiff peaks form. This usually takes about 3-5 minutes using an electric mixer on medium speed. You should see peaks that hold their shape when the whisk is lifted.
- Gently fold the whipped cream into the cream cheese mixture, being careful not to deflate the whipped cream. This will create a light and airy cheesecake filling that melts in your mouth.
- Fold in the crushed Oreo cookies, ensuring they’re evenly distributed throughout the mixture. This not only adds flavor but also gives a pleasing texture to the bites.
- Using a small cookie scoop or your hands, form the cheesecake mixture into bite-sized balls, about 1 inch in diameter, and place them on a baking sheet lined with parchment paper.
- Once you’ve formed all the bites, freeze them for about 30 minutes to firm up. This helps them maintain their shape during the coating process.
- While the cheesecake bites are chilling, melt the semi-sweet chocolate chips. You can do this in a microwave-safe bowl in 30-second intervals, stirring in between to prevent burning, or use a double boiler for a more controlled melting process. If desired, add coconut oil to the chocolate for a smoother consistency that coats evenly.
- Remove the cheesecake bites from the freezer. Dip each bite into the melted chocolate, using a fork to lift them out and allow excess chocolate to drip off. Place them back onto the parchment paper, keeping them spaced apart to prevent sticking.
- While the chocolate is still wet, sprinkle each bite with additional crushed Oreo cookies for garnish. This not only looks appealing but enhances the Oreo flavor.
- Once all the bites are coated, return them to the freezer for about 15-20 minutes to allow the chocolate to set completely. This final chill ensures a firm and delectable treat.
Tips & Tricks
To ensure your No-Bake Oreo Cheesecake Bites turn out perfectly: Check out our related guide for more tips. These tips are designed to enhance both your experience and the final product.
- Storage: Store the bites in an airtight container in the refrigerator for up to one week, although they are best enjoyed fresh. For longer storage, freeze them in a single layer, then transfer to a freezer-safe bag for up to three months. Thaw in the refrigerator before serving for the best texture.
- Make-Ahead: These bites are perfect for preparing in advance. You can make the cheesecake mixture and form the bites up to two days before serving. Just coat them in chocolate right before serving for that fresh taste and delightful appearance.
- Avoid Overmixing: When combining the whipped cream with the cream cheese, be gentle. Overmixing can deflate the whipped cream, resulting in a denser cheesecake that loses its airy quality.
- Chocolate Coating: If the chocolate becomes too thick while dipping, reheat it gently to regain a fluid texture. This will help you achieve a smooth coating that enhances the overall look and mouthfeel of your No-Bake Oreo Cheesecake Bites.
Variations
Feel free to customize your No-Bake Oreo Cheesecake Bites to suit your taste or dietary preferences:
- Flavor Variations: Substitute the Oreos with other cookie varieties, such as peanut butter cookies or mint cookies, to create different flavor profiles that can cater to various palates.
- Vegan Option: Use vegan cream cheese and replace heavy cream with coconut cream for a dairy-free version that still maintains a rich and creamy texture. Ensure the cookies are also vegan to keep the recipe compliant.
- Gluten-Free Option: Use gluten-free cookies as mentioned previously to cater to dietary restrictions while still enjoying this delicious treat.
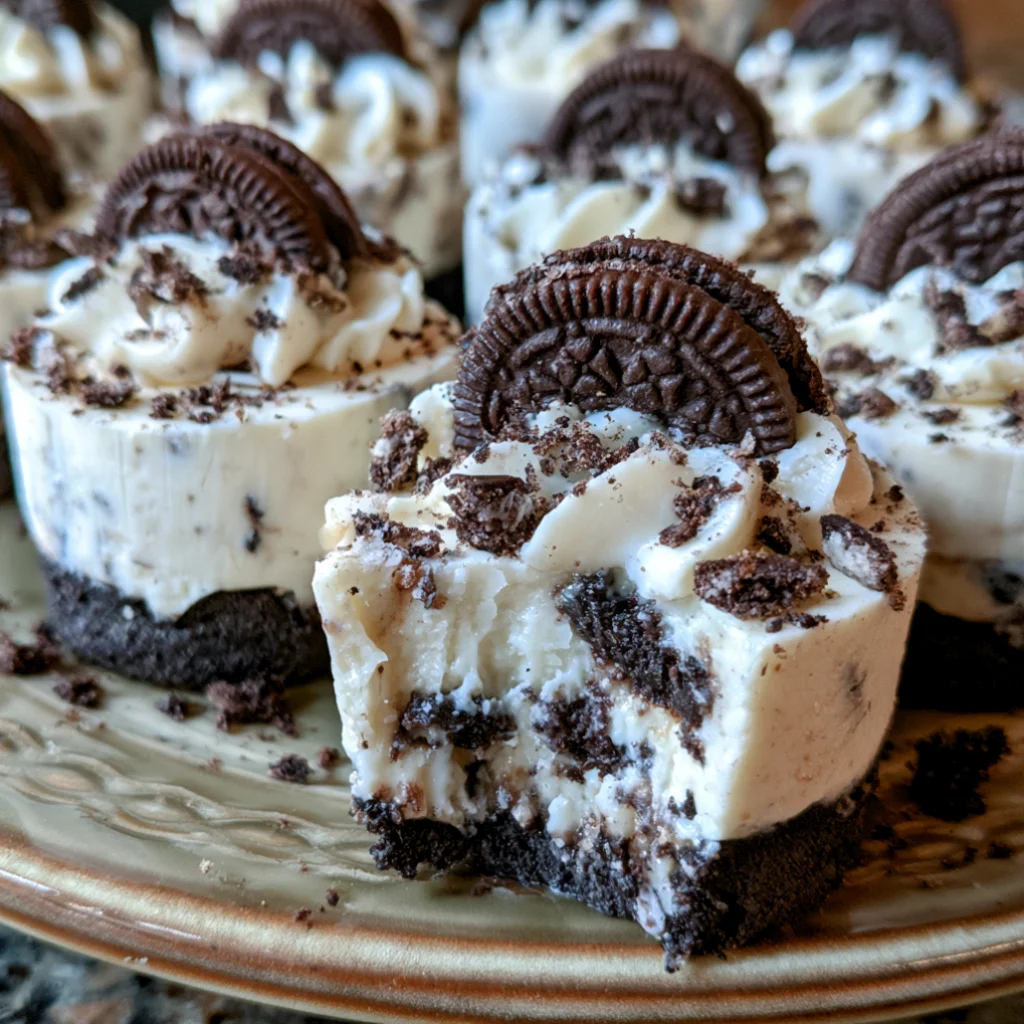
No-Bake Oreo Cheesecake Bites
Indulge in a delightful treat with these No-Bake Oreo Cheesecake Bites. Perfect for any occasion, these little bites pack a creamy, rich flavor that combines the beloved taste of Oreos with a smooth cheesecake filling. They are simple to prepare and require no baking, making them an ideal choice for quick dessert ideas or party dessert recipes.
Ingredients
- 8 oz. cream cheese, softened to room temperature for easy mixing
- 1/2 cup powdered sugar, sifted to prevent lumps
- 1 teaspoon vanilla extract, for a rich flavor
- 1 cup heavy whipping cream, chilled for better whipping
- 1/2 cup crushed Oreo cookies (about 4-5 cookies), or more if you desire a stronger flavor
- 1 cup semi-sweet chocolate chips, high-quality brands work best for a smoother melt
- 1 tablespoon coconut oil (optional, for smoother melting and a shiny finish)
- Additional crushed Oreos for garnish, to sprinkle on top for a delightful crunch
Directions
In a large mixing bowl, beat the softened cream cheese with an electric mixer until smooth and creamy, about 2-3 minutes.
Add the powdered sugar and vanilla extract to the cream cheese. Mix until well combined and the mixture is free of lumps.
In another bowl, whip the heavy cream until stiff peaks form. This usually takes about 3-5 minutes using an electric mixer on medium speed.
Gently fold the whipped cream into the cream cheese mixture, being careful not to deflate the whipped cream.
Fold in the crushed Oreo cookies, ensuring they're evenly distributed throughout the mixture.
Using a small cookie scoop or your hands, form the cheesecake mixture into bite-sized balls, about 1 inch in diameter, and place them on a baking sheet lined with parchment paper.
Once you’ve formed all the bites, freeze them for about 30 minutes to firm up.
While the cheesecake bites are chilling, melt the semi-sweet chocolate chips in a microwave-safe bowl in 30-second intervals, stirring in between to prevent burning, or use a double boiler.
Remove the cheesecake bites from the freezer. Dip each bite into the melted chocolate, using a fork to lift them out and allow excess chocolate to drip off.
While the chocolate is still wet, sprinkle each bite with additional crushed Oreo cookies for garnish.
Once all the bites are coated, return them to the freezer for about 15-20 minutes to allow the chocolate to set completely.
Recipe Reviews
- ★★★★★
Excellent recipe!
Leave a Reply
Your email address will not be published. Required fields are marked *


