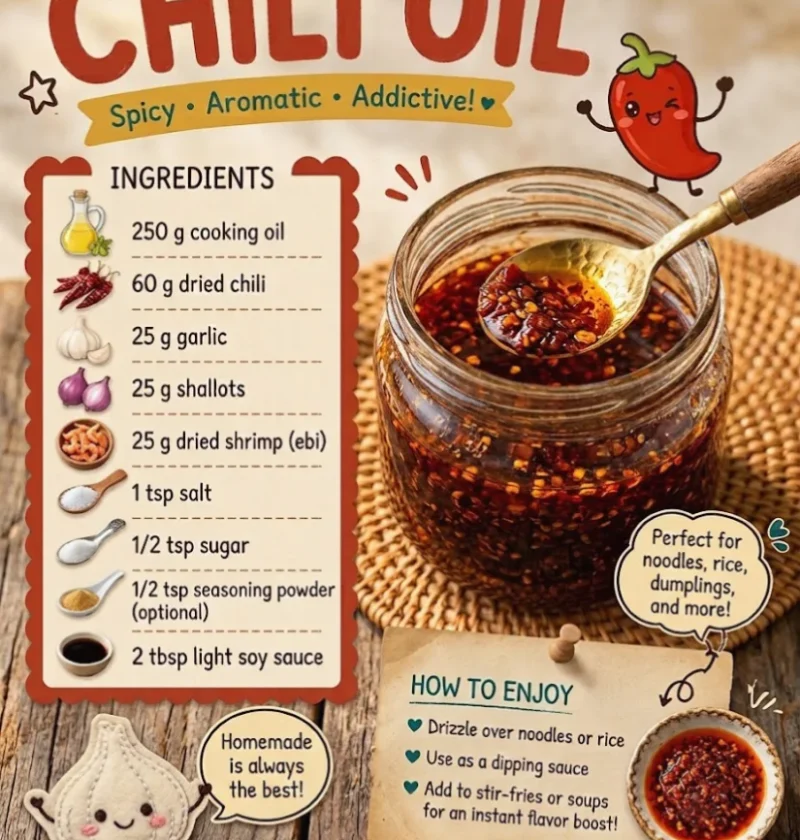
Chili Oil Homemade is a flavorful addition to your kitchen pantry, perfect for enhancing a variety of dishes. This versatile and aromatic oil is not only a staple in Asian cooking techniques but can also elevate your everyday meals with its rich, spicy flavor. With just a few simple ingredients and easy-to-follow steps, you can whip up this homemade chili oil recipe in no time. The beauty of making your own chili oil lies in the ability to control the ingredients and customize flavors to your liking, ensuring a fresher taste than store-bought options.
Ingredients
- Chili Oil Ingredients:
- 1 cup of neutral oil (such as canola or grapeseed oil)
- 1/2 cup of dried red chili flakes
- 4-5 cloves of garlic, minced
- 1 tablespoon of sesame seeds
- 1 teaspoon of salt
- 1 teaspoon of sugar (optional, to balance heat)
For the best flavor, opt for high-quality chili flakes and oil. Freshly sourced, vibrant red chili flakes will yield a more intense color and flavor in your finished product. You can substitute the neutral oil with olive oil for a richer taste, although this may alter the oil’s color and flavor profile slightly. Additionally, consider using flavored oils, like peanut or avocado oil, for unique taste variations. Remember, the type of chili flakes you choose will affect the heat level; for a mild version, look for a blend labeled as ‘mild,’ while a ‘hot’ version will provide a more intense kick.
Steps / Instructions
- In a small saucepan, combine the neutral oil, minced garlic, salt, and sugar over medium heat. Ensure that the saucepan is large enough to avoid any splatter, as the oil can bubble up when heated.
- Heat the oil gently, allowing the garlic to infuse for about 5-7 minutes, stirring occasionally. Watch closely to prevent burning; the garlic should turn golden brown and become fragrant, releasing its aroma into the oil, which will signal that it’s ready.
- Once the garlic is golden and fragrant, remove the saucepan from the heat. Be careful not to leave the garlic in the hot oil for too long, as it will continue to cook even after being removed from the heat source and could burn.
- In a heatproof bowl or jar, add the dried red chili flakes and sesame seeds. If you prefer your oil to have a bit of crunch, you can add extra sesame seeds or even toasted nuts at this stage.
- Carefully pour the hot oil mixture over the chili flakes and sesame seeds. The oil should sizzle upon contact, releasing enticing aromas that tantalize the senses. This is an essential step for activating the chili flakes and enhancing their flavors.
- Let the mixture cool to room temperature, then stir well to combine. The oil will deepen in color as it cools, transforming into a rich, vibrant hue that indicates the infusion process is taking place.
- Transfer the chili oil to a clean glass jar and seal tightly. Store in a cool, dark place or in the refrigerator. Make sure to use a jar that is completely dry to prevent moisture from spoiling the oil.
For optimal flavor, allow the chili oil to sit for at least 24 hours before using. This resting period helps the flavors meld together beautifully, resulting in a more balanced and profound taste. The longer the oil sits, the more intense the flavor will become, making it well worth the wait. Check out our related guide for more tips on maximizing flavor in your homemade chili oil.
Tips & Tricks
Here are some expert tips to ensure your Chili Oil Homemade comes out perfectly:
- Storage Tips: Store your homemade chili oil in an airtight jar to keep it fresh. It can last up to three months in the refrigerator, allowing you to enjoy its flavor for a while. Always use a clean spoon when scooping out oil to avoid contamination.
- Make-Ahead Options: Prepare larger batches ahead of time for quick access during meal prep. It’s a great way to incorporate heat into your dishes effortlessly. Consider making small jars as gifts for friends who enjoy cooking, sharing your homemade creation.
- Common Mistakes to Avoid: Be cautious not to overheat the oil; burning the garlic will impart a bitter flavor to your oil. Also, ensure all your tools and containers are clean to prevent spoilage. Avoid adding any moisture, like fresh herbs, that could lead to mold growth in the oil.
- Pro Techniques: Experiment with the amount of chili flakes based on your spice preference. If you like it spicier, try adding a few whole dried chilies to the oil mixture. Consider adding culinary herbs and spices like ginger or star anise for additional depth of flavor, which can really elevate the overall profile of your chili oil.
Variations
Customize your chili oil to suit your taste with these creative variations:
- For a smoky flavor, add smoked paprika or chipotle powder to the chili flakes. This will give your oil a unique taste that pairs well with grilled meats.
- To make a garlic chili oil, increase the quantity of garlic or add roasted garlic for a sweeter note. Roasting the garlic beforehand will create a mellow, caramelized flavor that beautifully complements the heat of the chili.
- For a citrus twist, incorporate some dried lime zest into the oil. This addition can brighten the overall flavor and add an exciting dimension to the oil.
- To create a herb-infused oil, add dried herbs like oregano or basil. These will lend an aromatic quality to your chili oil, making it versatile for various recipes.
Serving Suggestions
Your homemade chili oil can be used in numerous ways:
- Drizzle it over stir-fried vegetables or grilled meats for an extra kick that elevates simple dishes to new heights.
- Use it as a flavorful base for salad dressings or marinades, where the oil can add depth and heat that transforms ordinary salads into vibrant culinary experiences.
- Mix it into savory dipping sauces for dumplings or spring rolls, enhancing the flavor profile of these beloved appetizers.
- Incorporate it into pasta dishes for a spicy twist, complementing meals like Savory Chicken and Vegetable Stir-Fry. A drizzle of chili oil can turn a simple pasta dish into something extraordinary.
Chili Oil Homemade is a must-have for anyone who loves to cook. It not only enhances flavors but also brings warmth to your dishes, making every meal a little more exciting. With this versatile oil in your pantry, you’ll always have a quick and easy way to spice up your culinary creations.
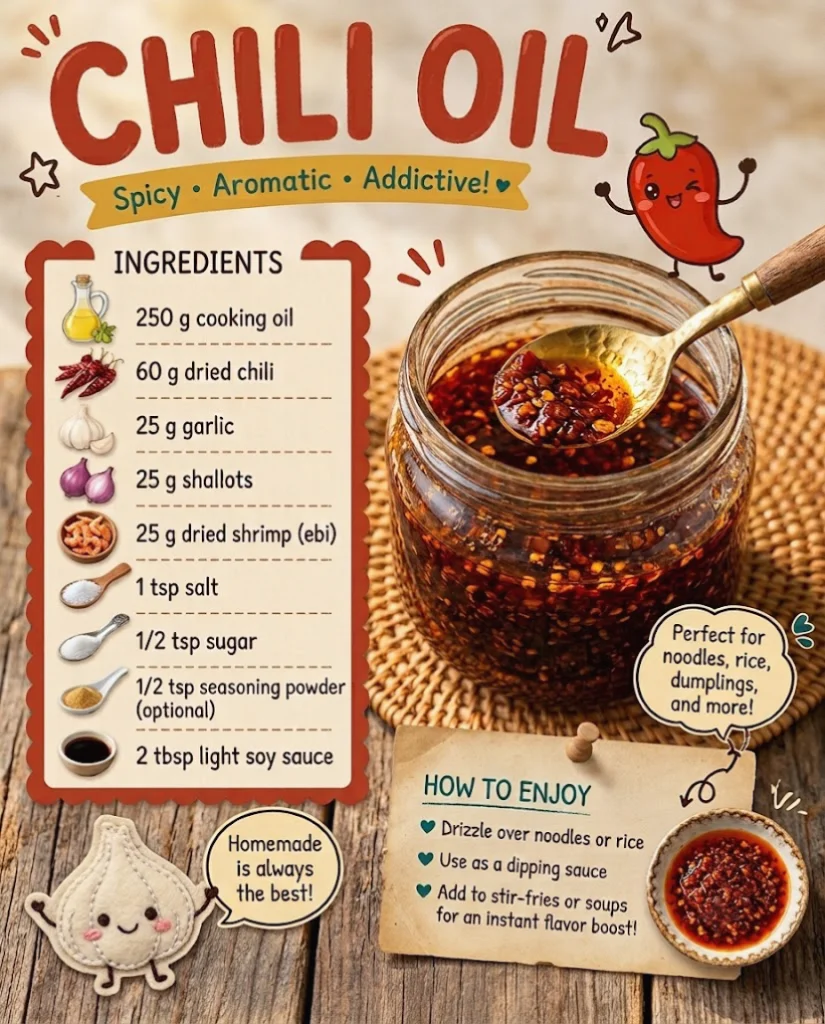
Chili Oil Homemade
Chili Oil Homemade is a flavorful addition to your kitchen pantry, perfect for enhancing a variety of dishes. This versatile and aromatic oil is not only a staple in Asian cooking techniques but can also elevate your everyday meals with its rich, spicy flavor.
Ingredients
- 1 cup of neutral oil (such as canola or grapeseed oil)
- 1/2 cup of dried red chili flakes
- 4-5 cloves of garlic, minced
- 1 tablespoon of sesame seeds
- 1 teaspoon of salt
- 1 teaspoon of sugar (optional, to balance heat)
Directions
In a small saucepan, combine the neutral oil, minced garlic, salt, and sugar over medium heat. Ensure that the saucepan is large enough to avoid any splatter, as the oil can bubble up when heated.
Heat the oil gently, allowing the garlic to infuse for about 5-7 minutes, stirring occasionally. Watch closely to prevent burning; the garlic should turn golden brown and become fragrant.
Once the garlic is golden and fragrant, remove the saucepan from the heat. Be careful not to leave the garlic in the hot oil for too long.
In a heatproof bowl or jar, add the dried red chili flakes and sesame seeds.
Carefully pour the hot oil mixture over the chili flakes and sesame seeds. The oil should sizzle upon contact.
Let the mixture cool to room temperature, then stir well to combine.
Transfer the chili oil to a clean glass jar and seal tightly. Store in a cool, dark place or in the refrigerator.
Nutrition Facts
Recipe Reviews
- ★★★★★
Excellent recipe!
Leave a Reply
Your email address will not be published. Required fields are marked *